

So its time to install a new toilet and get rid of the old one. Your old one may have developed cracks, might be using a little too much water per flush or the original color may be faded and is not looking good as it used to be. Or maybe you might just be renovating your bathroom.
Well if you are, you came to the right place, we have this awesome little Toto toilet installation guideline here just for you!
Toto Toilet Installation Manual
(Click above for the official manual)
The following are steps you may follow so as to safely and correctly install your Toto toilet:
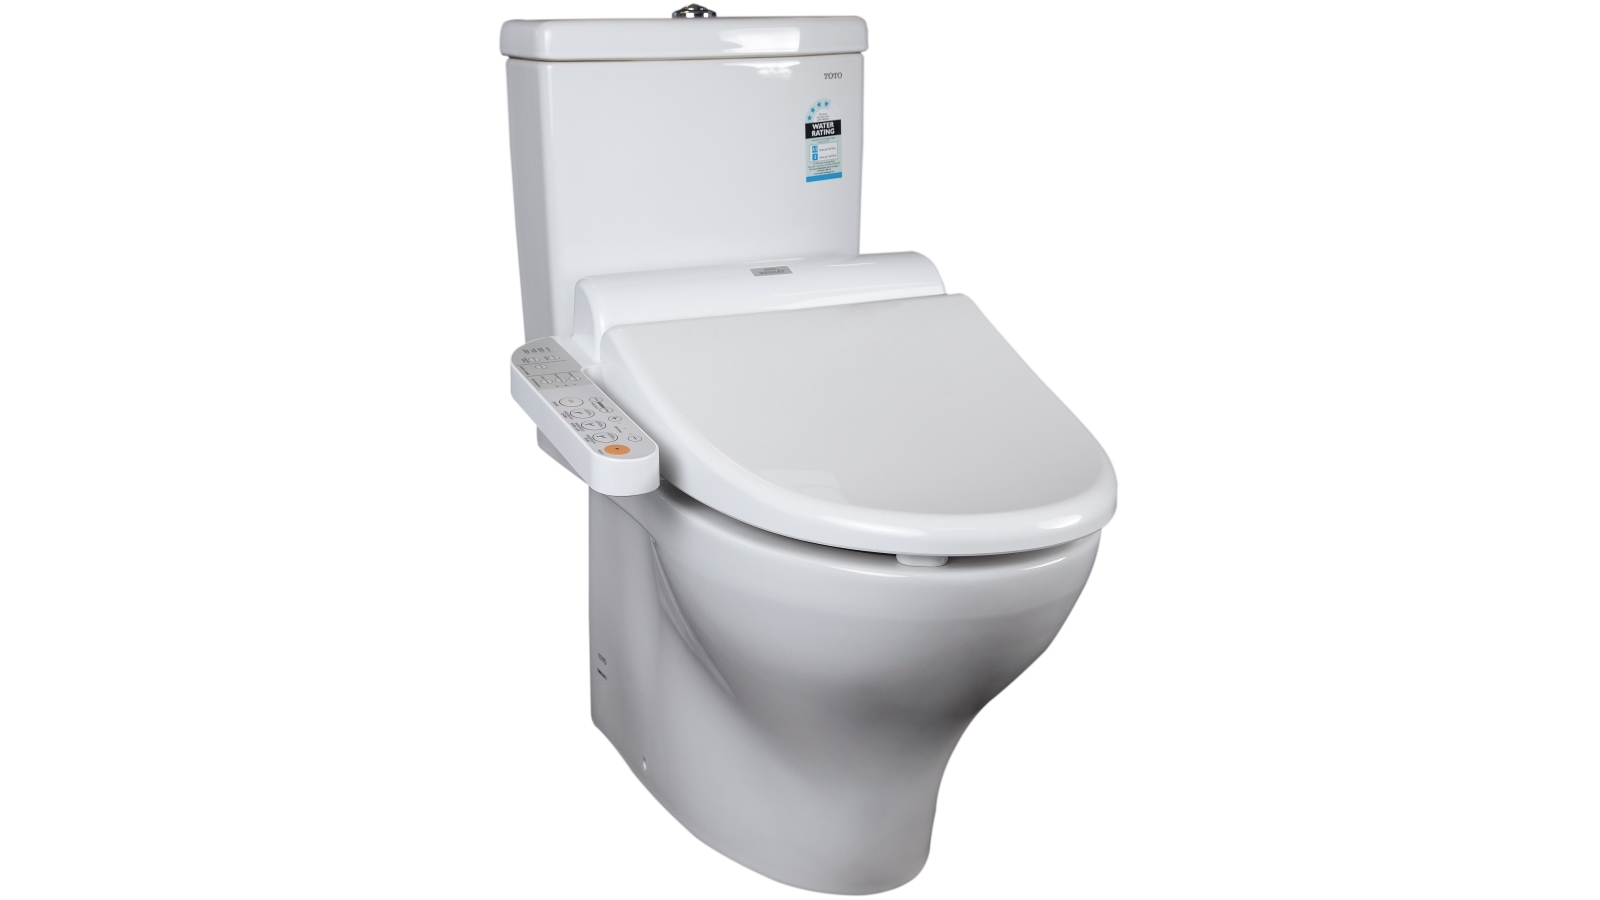
First of all, identify our Toto Toilet Parts List
- Lift chain. This is the mechanism by which the flush valve at the bottom of the tank is opened to let the water flush down into the toilet bowl.
- Handle & Flush rod. The handle and the flush rod are what initiate the flush.
- Flapper (tank ball). This part of the Toto toilet is operated when the toilet handle and the lift chain, lift it off the flush valve to allow the stored water in the tank to rush down into the bowl.
- Flush valve. A plastic/metal part of the Toto toilet that sits at the bottom of the tank, forming the opening through which water drops out of the tank and into the toilet bowl when the toilet is flushed.
- An overflow tube. This part of the toilet acts as a safety measure to prevent water in the tank from overflowing in case the water in the supply valve fails to shut off.
- A shut off valve. This is a fixture that is near the floor. As the name suggests,the shutoff valve allows you to shut off water to the toilet when you need to make repairs.
- Supply Hose. Could be vinyl, plastic or steel mesh material. The supply tube runs all the way from the shutoff valve to the water supply tailpiece on the bottom of the toilet tank.
- Fill valve assembly (Ballcock).This piece of the Toto toilet is mounted on the left side of the tank.it is the part that opens the fresh water supply to refill the tank at the end of the flush cycle and it opens the fresh water supply to refill the tank at the end of every flush cycle.
- Toto toilet bowl. This is basically the main part of a toilet.
- Wax Ring / Wax Seal. This part of the toilet seals the connection between the bottom of the toilet and the drain opening in the floor. It helps prevent water from seeping around the base of the toilet during a flush.
Now that you are familiar with the various parts of a Toto toilet, here are the steps that will guide you on how to install one.
Prepare the floor.
- Insert a rug in the soil pipe to prevent the hardware from falling in.
- And then you ensure that the hole in the floor is large enough to accommodate the closet flange.
- Go ahead and fit the soil pipe into the closet blend. Remove it and use a handsaw to trim the edges of the soil pipe.
- Ensure that the flange’s collar rests well on the floor by dry-fitting it to the soil pipe.
Installation of the soil pipe and the closet flange.
- Apply the PVC primer first followed by the PVC cement on the inside of the closet bend and on the free end of the soil pipe. Twist the soil pipe onto the closet blend immediately before it dries out.
- Ensure the collar is correctly seated on the floor.
- Ensure the slots are positioned well to the left and to the right of the hole rotating the collar.
- Using stainless steel screws secure the collar onto the floor. The screws should be long enough to bite into the subfloor.
Note however, alignment of the bolts slots quickly will be more effective while gluing the fixed collar before the cement sets.
Bind the stop valve.
- To avoid causing a mess, shut off the bathroom’s water supply valve.
- Allow the pipe to drain by severing the line with a tubing cutter.
- Get rid of the valve’s handle and stem.
- Apply flux to the pipe and the inside of the valve’s inlet, after cleaning both areas.
- With the valve’s outlet pointing upwards, slip the escutcheon over the supply line, followed by the stop valve.
Set the Toto toilet bowl, install the Toilet Wax Ring.
- Proceed to insert the long brass closet bolts into the flange collar slots. And then slip the brass washer over each to polish it.
- Applying gentle pressure, using the flat side press the wax ring down over the flange.
- Place the Toto toilet bowl over the flange, ensuring the holes and those of the closet bowls align. Lower the base onto the ring.
- Make sure to press down the Toto toilet bowl onto the wax ring until the bowl’s base rests on the floor.
- Hand thread the nuts and tighten them with a wrench one quarter turn at a time, as you alternate between the two. Do not overtighten otherwise you will crack the ceramic bowl.
- Snap the plastic toilet bowl covers into place. But before that, trim the closet bowls with a hacksaw at a point that is two threads above the top nut.
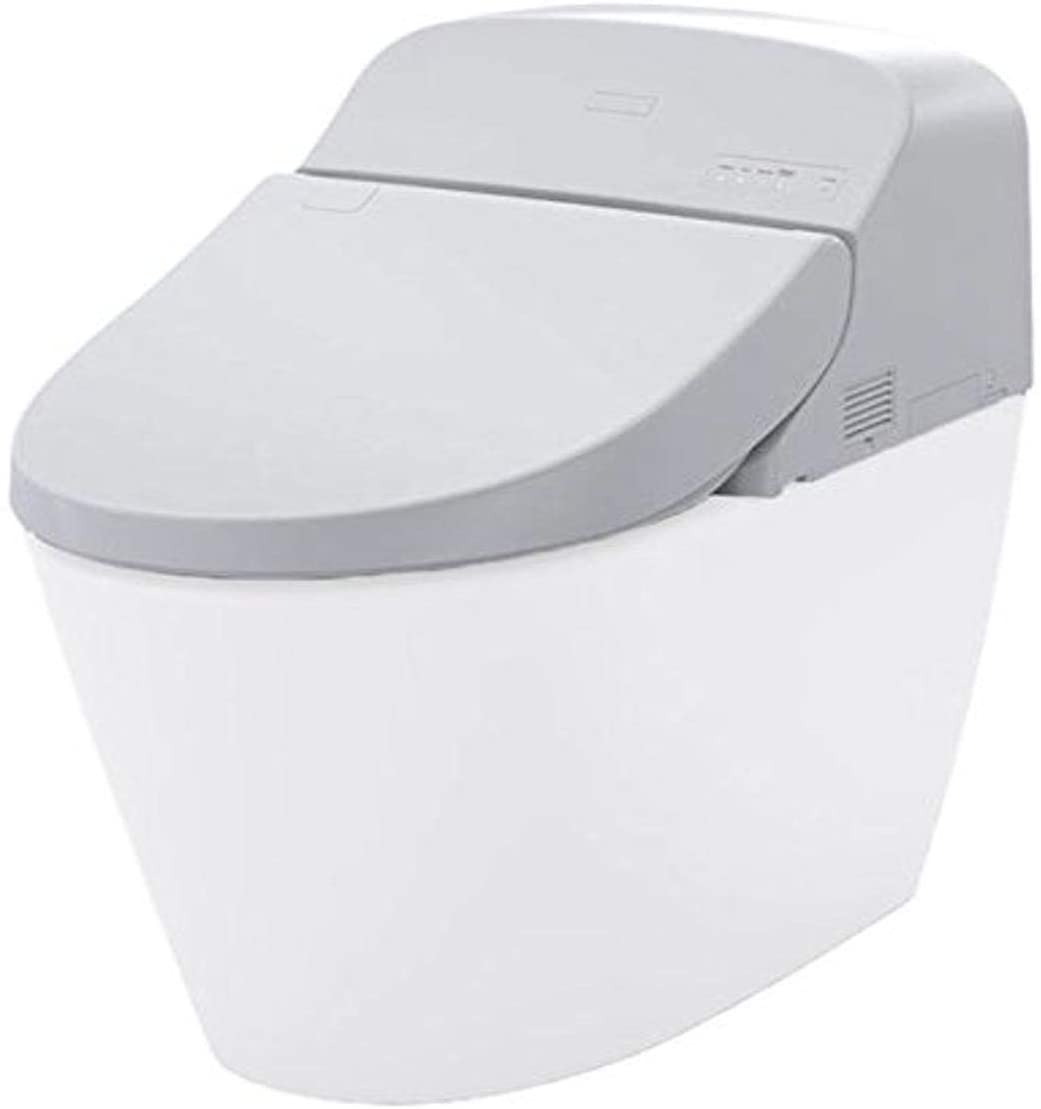
Toto Hung Toilet Installation Manual
Toto Wall hung toilets are a common thing in the current era. They are installed both for the minimal space they consume in a room as well as for aesthetic purposes. The following is a manual on how to install a wall hung Toto toilet.
Preparations.
- Always turn off the water supply before you begin any form of construction in the bathroom. Then take apart the old unit.
- Prepare all your tools and lay them out before you.
Set up the frame that will hold the new unit.
- On the frame, assemble the horizontal and vertical bars and tighten them together.
- Fix securely the two mounts on to the sides of the cistern.
- At the sides of the cistern, place the vertical flush pipes.
- Go ahead and place the elbow of the flush pipe on the frame, and press down the cistern in place. This is how you secure the cistern.
- Using a ratchet wrench, attach the fixing mounts on the frame.
- Clip the feet of the frame onto its lower part.
- Attach the waste pipe to the frame.
Positioning the unit onto the frame.
- For a standard Toto toilet bowl, position it at a vertical distance of 1-1.8m. Otherwise, adjust the placement of the toilet bowl depending on its size.
- At 1.8m, draw the holes for the wall brackets 235mm to the left and to the right of the centre of the point of interest.
- Fit the waste pipe elbow into the clamp.
- Then put the unit into place.
Attaching the unit.
- Use a PVC glue to attach the waste pipe elbow.
- Using rawl plugs, drill holes into the wall using a 10mm drill.
- On the floor, drill a 12mm drill bit using the rawl plugs still.
- Line up the frame height on to the 1m mark you marked earlier.
- Ensuring the frame is level horizontally, secure the feet using a 13mm wrench.
- Place the fixing brackets at the top of the frame.
- Attack the unit and secure it.
The flush mechanism.
- Discard and remove the transport bracket after pulling the handle.
- Remove the cover on the cold water connection.
- Without using a seal, attach the exterior part of the stop valve to the cold water connection using a 22mm open-ended wrench together with a pipe wrench.
- Pointing to the right, place the stop valve outflow.
- On the stop valve, connect the internal flexible water inlet hose.
- Open the water supply but only after ensuring the isolation valve is closed.
- Check the flow of water is okay by placing the other end of the hose to a bucket to catch the water. Close the isolation valve as well.
- According to the design of your flush plate, place the inspection shaft onto it.
Cover the unit.
- Make sure the covering panels match the unit’s openings and cut those panels.
- Using the cardboard, screw the threaded rods into the frame.
- Use the cut out templates to place the waste and flush pipes. And then attach all the panels.
Toto toilet bowl installation
- Push the flush pipe into the seal until you cannot push any further. And proceed to place the pipes on the bowl.
- On the sanitary unit, place the pipes and mark the areas where they emerge from the unit.
- Cut off the end of the pipes after measuring the distance between the marks on the pipes. Make sure to add 5mm on the measurements so as not to cut too close.
- Smoothe the pipe ends using a file. And then insert them into the unit.
- Go ahead and place the Toto ceramic bowl and push firmly till it touches the frame, ensuring it is facing the flush pipe, waste pipe and threaded rods.
- Make sure the Toto toilet bowl is level and adjust it accordingly. Finally, install the plastic covers.
After installing the Toto toilet bowl, refer to the Toto toilet seat installation manual.
How To Install A Toto Toilet
The following are the steps you should follow while installing a new Toto toilet
Use a new flange and place it around the drain opening.
You can achieve this by unbolting the old one and placing the new one over the hole. Then fix the flange onto the floor using bolts.
- The wax ring.Fix the new wax ring around the bottom of the toilet bowl around the same place as the drainage hole.
- Ensure the flange is tightly secured onto the floor by tightening the screws.
- Place the toilet bowl in perfect alignment with the bolts that are protruding from the floor.
- Rock the Toto toilet bowl from side to side so as to create some sort of seal on the toilet drainage hole.
- Applying light pressure, insert the bolts through the tank and base by hand. Remember not to overtighten the bolts as the porcelain may crack.
- Using a wrench,tighten the floor bolts preferably in a simultaneous fashion.
- For aesthetic purposes, cover the floor bolts with decorative caps (optional).
- Using your hands, carefully tighten the basin over the Toto toilet bowl.
- Reconnect the water pipes and turn on the water supply.
- Using a sealing material, seal the base of the toilet.