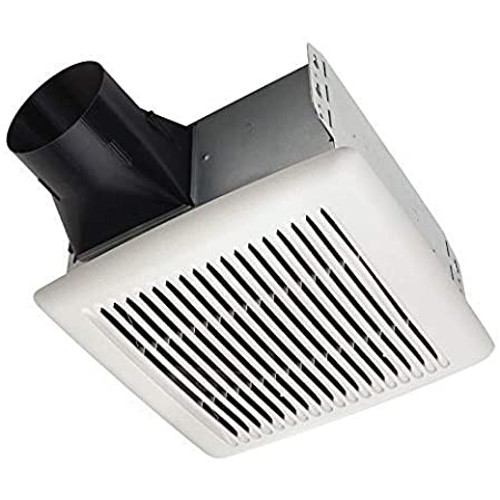
For Typical Installation:
The ductwork from the Broan fan to the outside of the building has a strong effect on the airflow, noise and energy use of the fan and its components. For the best performance, always use the shortest and straightest duct routing possible. Do not install the fan with smaller ducts than recommended. The insulation process around the ducts can reduce energy loss on a higher scale and inhibit mold growth. If you install the fan using an existing duct, you may not achieve the rated airflow required. A round rigid metal duct that is about 4 inches is recommended for best performance as well.
How to Replace an Existing Broan Nutone Bathroom Fan
Tools
- Phillips screwdriver
- Hammer
- Safety glasses
- Pencil/pen
- Tape Measure
- Drywall saw
- 4 inch round metal ducting
- Roof cap or wall cap (built-in damper recommended)
- Tape
- Drywall screws
- Sheet metal screws (optional)
- Electrical wiring
- Supplies per local code requirements
- Remove the unit from its packaging and punch out the template from the packaging as well.
- Prepare the housing by loosening the two blower screws and unplugging the blower. Remove the blower from the housing. Remove the cover of the wiring.
- Use a template to mark the ceiling. The existing fan should not be any larger than 8” by 8¼”. Outline the centerline of the existing fan on the ceiling. Position the template over the existing fan with an arrow on the centerline. Trace around the outside of the template using a pencil.
- Cut the ceiling opening. Remove the old Broan Nutone fan. Cut out ceiling material where marked using a drywall saw. Disconnect electrical wiring and ductwork. Proceed to remove the existing fan. WARNING: Ensure you do not cut through the electrical wiring or ductwork.
- Install the new fan housing. Lift the new fan housing up into an enlarged rectangle that is in ceiling material. Hold the fan housing firmly against the ceiling material and then tighten 4 clamps using a Phillips screwdriver. When turning clockwise using a Phillips screwdriver, the clamps are most likely to spin outward from the housing and move downward on top of ceiling material to properly secure housing in place. The minimum ceiling thickness allowed should be about ½ inch. NOTE: While using a power driver, do not over tighten the clamps. This is because it may cause the ceiling material to become deformed and prevent proper installation.
- Connect the fan ductwork by adjusting it into the housing. Use duct tape to secure it to the 4” duct connector. A rigid duct may have to be cut to fit prior to the housing installation. For a 3” ductwork, use the 4” to 3” reducer that is provided with the unit. Put a duct connector that is about 4” into the opening and then fasten it to the housing using a tab and the screw that is provided for you.
- Connect the electrical wiring. WARNING: To reduce risk of electric shock, fire or injury to persons, you are required to follow these instructions: If you are unfamiliar with electrical wiring, it is recommended that you secure the services of a qualified person to help in connecting the wiring according to all the applicable codes and standards. Connect the house wiring to a wiring plate that contains UL approved connectors. Connect wiring as shown in diagrams on your owner’s manual. Then attach the wiring plate and wiring cover to the inside of the housing using the screws that are provided for you.
- Replace the fan blower and then plug it into the receptacle and re-install the blower. Tighten blower screws to secure it.
- Install the Broan fan grille and then squeeze its springs and insert into slots inside the blower. Push the grille up and flash against the ceiling.
Installation in New Construction
- Remove the Broan bathroom fan from the packaging.
- Prepare the housing for installation.
- Install the fan housing and then connect the ductwork. Push the 4” duct connector into the opening and then fasten the fan to the housing with a tab and screw that is provided for you.
Do the following in new construction right before the ceiling is finished: Attach the housing to 2" by 6" or greater ceiling joists. You can use additional blocking as needed. The fan should be positioned such that it is against the ceiling and framed with the bottom edge of the housing flush with the finished ceiling. Use only 4 screws to attach housing to the framing.
For any additional support as needed: After the ceiling is set up, rotate the tightening clamps as described in Step 5 above. Use duct tape once again to connect 4” ductwork to 4” duct connector. For 3” ductwork, use the 4” to 3” reducer which is provided with the unit.
- Connect electrical wiring as in the above steps.
- Replace the Broan fan blower.
- Install the Broan bathroom fan grille on.

